Howdie. First post in a very long time. At times, while working on a larger, sometimes more frustrating, project, I take a break with a diversion. Usually it is a small thing, a miniature or two painted, some writing of a revised rule. But... sometimes I accidentally complete something larger.
This time is was a set of figures for Necromunda.
I had wanted to dip back into classic Necromunda, and had sorted out two gangs, Escher and Cawdor, as well as some Hive Scum to add variety. Just three days ago I picked up a couple of Escher gangers to try a color scheme as a diversion.... and suddenly....


... I had two full gangs.
So I gamed some Necromunda in the 90's, and as with games like Talisman, Warhammer Quest, and Mordheim, found it to be a fun experience, somewhat more enjoyable than the standard WHFB and WH40K games. But your mileage may vary.
For Escher, who I will think of as my primary gang, I went for Mardis Gras colors of green, purple, and gold. I am currently still kicking around an appropriately cool gang name. Its unfortunate that the word Harlequin may be currently associated with the Joker's girlfriend, because Harlequins of Sin would be a good name for them. I might have to go with something like Dark Carnivale, or, Jubilee Jesters instead. I will sort it out.
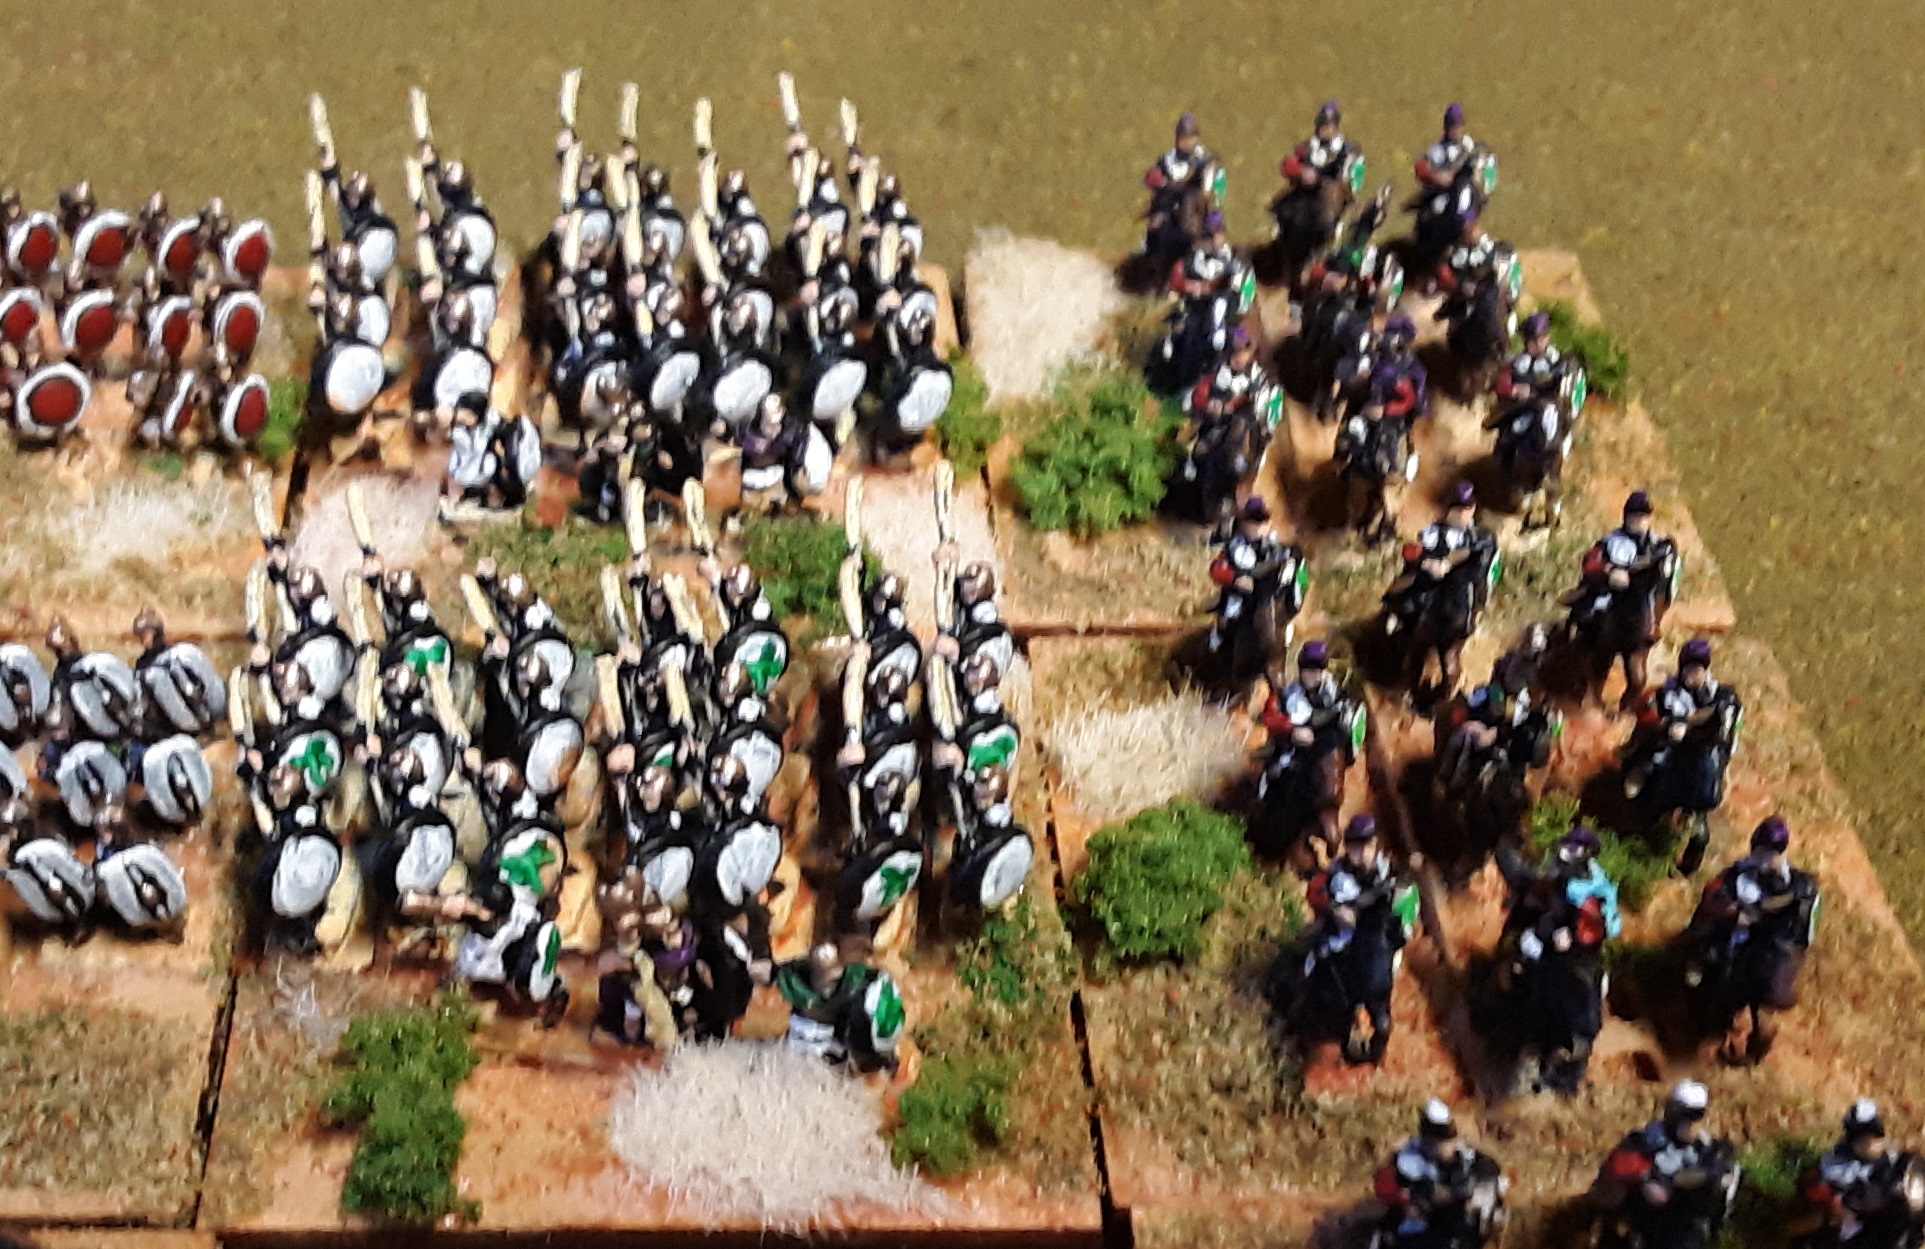
Escher Juves and Gangers....


As you can see, the uniform of the gang ties them together visually, though they display some individuality. I had almost forgot how much I hate to paint GW figures, ha ha, there is literally too many things to paint! I have made up my mind, I am no longer interested in painting studs on clothing, whether is Warhammer or D&D or whatever. Done. The level of detail produces a good miniature, and these figures are actually quite nice, well sculpted.
The weapons may seem to mostly be painted in non-metallic metals, however, my thought process is a little different. In a world where resources are scarce, in particular refined metals (guessing here), I'd think they would use more polymers where they can. Which might explain the bulkiness of the weapons (which is highly unrealistic.... for a setting 40 thousand years in the future with warp demons.... ). Anyway, I used some metallic paints to represent "actual, high value, metals".... this may indicate personal wealth, or, better, higher level weapons.
I made the smart decision to base these appropriately, used some spare door screen, with some random bits of sprue and/or gobs of sand and glue to represent rusting chunks of metal, and piles of sludge or slag. Again, this unifies the figures visually. With the Eschers, I did go for variety in skin tones, but overall gave these girls healthy looking skin.
Now, for the heavies, the leader, and Mad Donna. The heavies and leader of course fit right in with the rest of the gang... and while a starting gang may not have two heavies, its nice to have some options. Mad Donna, on the other hand is a different story....

For one thing, she is not an Escher. She's more of a rogue personality. However, I wanted another figure to potentially use with the Eschers more than I needed another rogue. So, I painted Mad Donna with colors that roughly correlate to this gang... but not quite. Close enough to fit in, different enough to not if needed. I will say that I did not like this miniature all that much.... she's not sculpted quite as well in my opinion, and she's got that 80's punk vibe to her (which I guess makes sense as Confrontation seemed to be more like futuristic punks).
Speaking of which.... all of these figures would make excellent models to use in any post-apocalyptic game, and I always like things that can be used in more than one way, for certain. The Cawdor have a completely different feel, and would work as cultists in a pulp setting, albeit with odd looking weapons. They are my back up gang (because when you try to entice people into something, its nice to be able to field two sides).
Cawdor Juves and Gangers....


The one juve is repeated, the only repeat in this set.... but I wanted access to more than 2 juves, just in case. The name of this gang is almost definitely going to be The Hayden Raiders ... and maybe Hayden is the dome they come from, a particularly grim, cold wasteland on the shores of a contaminated sea which they venture out on in junked up longships to terrorize their foes. And maybe Hayden is something else entirely.
I had more struggles with the coloring of this, but then, I watched this video from Eric's Hobby Workshop which convinced me to go with the clashing blue and light tan. Eric has some great videos on building terrain, which is good, because I have none..... yet. Eric makes some valid points in his video on how to approach painting. One in particular is that you need to just put some paint down, the more you put the faster it goes, and the worst thing is when you have to stop to decide on what color to go with. One thing I do differently is that I tend to start with anything big that requires a lot of drybrushing. So for this lot, that mean most of the weapons, which were painted up with a lot of dry brushing, and also many of the Escher hair styles. Mad Donna is about 3/4 hair, for example. Then I work up from the boots and legs (so I can complete the base, before finishing the upper portions of the miniatures). But whatever... check out his channel, great stuff.
Here are the Cawdor heavies and leader.... heavy stubber, heavy bolter, and grenade launcher.

You will notice, due to their need to conceal themselves, and perhaps due to the dim nature of their dome, the Cawdors have a much paler skin tone than the Eschers.And though they are the back up gang, I am very happy with how they turned out. They look good.
Finally, Hive Scum and Bounty Hunter.

I have a Scavvy gang here too, but have not done anything with them as I do not have Outlanders. One day perhaps. The next step for this is to build terrain.... lots and lots of terrain. But first... I have to get back to the main task I was working on, and stop messing around with these little side excursions!
Thanks for reading, and keep those dice rolling.