Howdie. A few weeks ago, I shanghaied Dieter, one of our local club members, into squaring off with me in a "everyone loses" scenario (these are the kinds of scenarios I am best at) for
Seek Out ,Close With, and Destroy. A Soviet mixed column would have to fight their way through a valley controlled by Mujahideen. The object for the Soviets was to exit the board... the object for the Mujah was to kill Soviets.
The Mujahideen had a partial hidden deployment where units were placed in certain areas as they activated on the first turn. The Soviets had chances to spot some of these prior to game start, and were required to list their vehicle order secretly. The Mujah nominated a specific point at which a command detonated bomb had been placed, and chose blindly which vehicle in order would be targeted.
Dieter chose the Mujahideen, I ended up with the Soviets.
The Soviets rolled poorly for spotting additional units, and the game was started with a bang as the command detonated mine ripped through a Soviet truck, completely annihilating it. As the first Mujah activation, Dieter revealed his B-11 --the "B" stands for big, by the way :) -- and managed to acquire, hit, and destroy the lead vehicle, a BRDM-2.
What followed was a mad scramble by the Soviets to deploy their infantry sections (out of the sitting duck targets of their BMP-2s) and begin to engage the Mujahideen that began to spring into action on all sides. The Soviets took casualties, but they also dealt them out too. A Mujah DShK team (a particularly dangerous weapon in this game) was depleted to the last gunner, but was never eliminated. Fortunately for the Soviets, that opening B-11 shot was it for them, as they were pinned throughout most of the rest of the game.
Here you see one Soviet infantry section crossing a shallow stream to engage the DsHK, with another section prepares to storm a Mujah held hill. The Soviet command were engaged while still in their truck, and while the truck was not destroyed, they were pinned and bailed. This forced me to choose another unit to act as command... I picked the rearmost infantry section (and they would remain in command for the rest of the game).
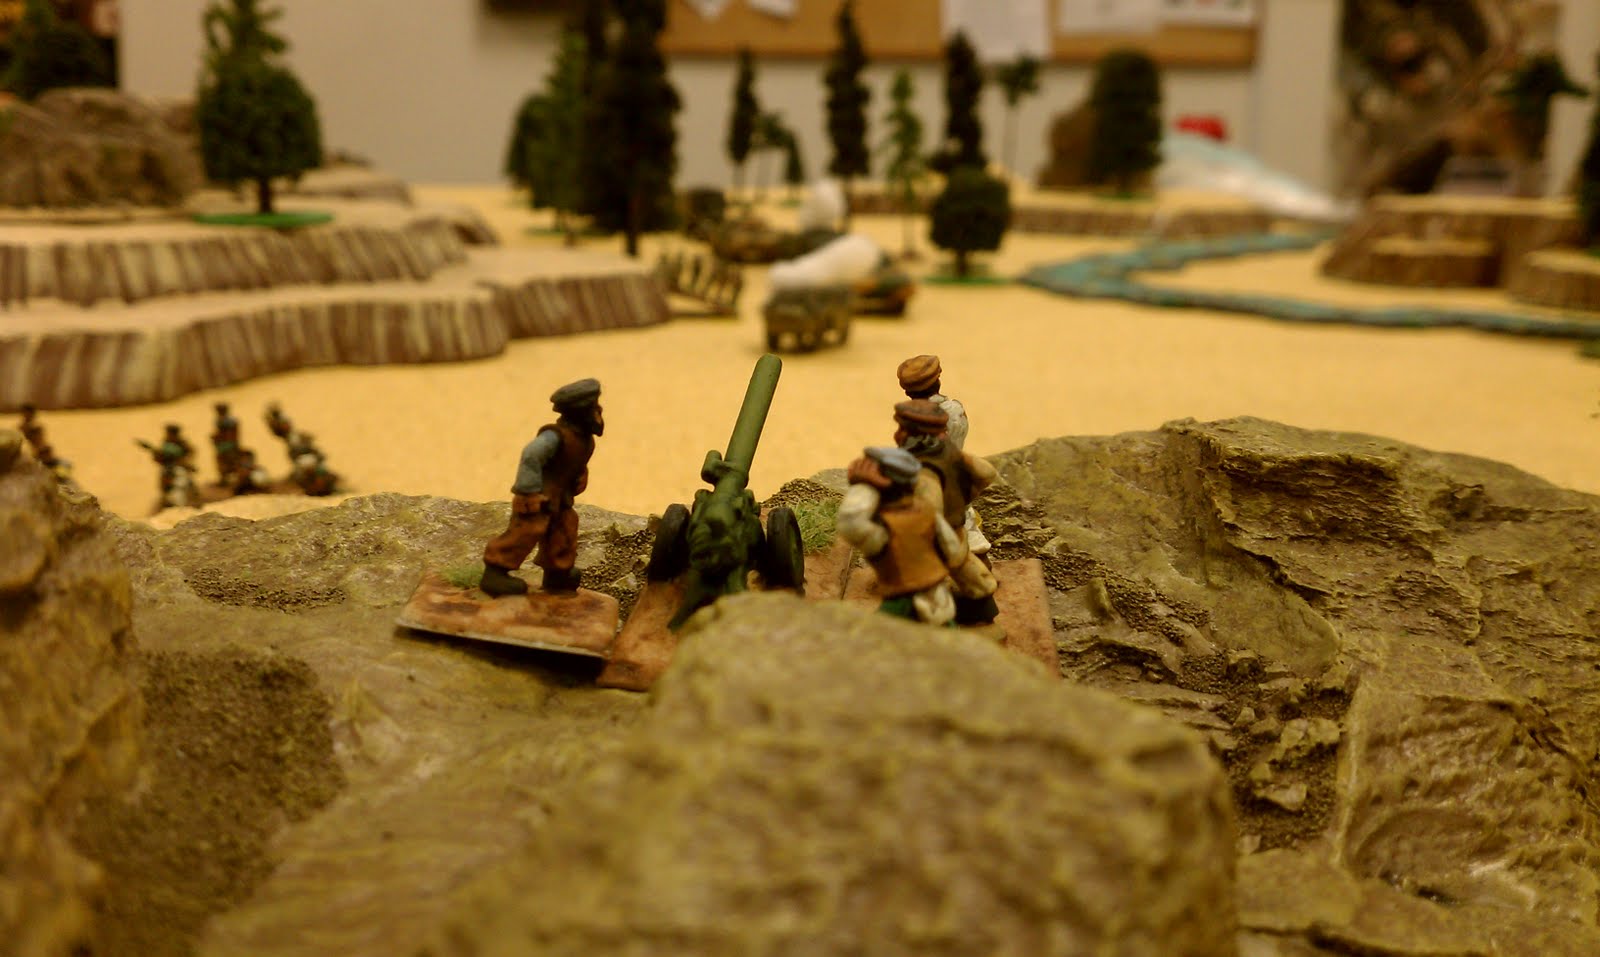
Here the Soviets begin to push forward. That T-62 at the end of the column was missed once with an RPG-7, but was hit a total of three times by the same RPG-7 team... and somehow managed to survive!
Dieter's Mujah tracked the lead BMP-2 with an RPG-7, and pinned my "assault" section. This, I did not enjoy.
Despite this, that infantry section did rally and storm that hill. They caused considerable damage to the two Mujah units, but were eventually eliminated in a hail of gunfire from multiple directions. I commend my opponent's use of angles... its something I routinely do in my gaming, but many gamers seem to lock into the four sides of the table, and tend to overlook angles of opportunity. I must do something about this before I game Dieter again.... and never let him game a sniper. He popped up his sniper and began shooting at my command section. My command section stayed pinned, and eventually lost the Lt anyway... as well as a couple of other models.
Yes, here is that command section.... and the infantry section that was forced to step up.
That infantry section began to roll up the Mujahideen defenders, and while the Soviets drained away, so too did the Mujahideen. A later view of the game, showing large patches of empty space where models used to be...
Look, some of my enemy on the run!
In the end, there was no clear victor (we had a later start, and should have had 2 more turns completed before ending). I thought the Mujahideen were winning, Dieter thought the Soviets were winning. As he pointed out, we were both beset with hard decisions throughout, and that made for a tense and completely interesting game. I think in final analysis, that it would have been harder for the Soviets to claim victory if Dieter could have gotten his B-11 back into action. But it was a hell of a fun game for us... not so much fun for the forces involved.


Good batrep, good figures and scenery, very nice work.
ReplyDeleteAbsolutely agree. Will pinch this scenario for our Crisis in Alcovia blog!
ReplyDeleteGives me an incentive to collect and paint the vehicles!
Cheers
Mark