A blog about miniatures, wargaming, and the people driven to ruin by them....

Wednesday, December 2, 2015

USMC: Saipan '44 and Beirut '82

Howdie.

This past weekend, the three former owners of Iron Ivan Games, along with the author of the IIG Berlin book and his own Altar of Freedom system, met for some Iron Ivan themed gaming.

Both games featured the USMC.  I'll discuss the 2nd game first, a more-or-less thrown together game representing bunker clearing late in the battle for Saipan in 1944.  We of course were using Disposable Heroes, and the Red Sun Red Death PTO supplement.

The Japanese had their forces spread along a series of fortifications and natural features.  The player was allowed to keep stuff off until it activated, and could dictate how many Japanese units activated each turn.  In this way, the Marines never knew for sure if more Japanese would show up, or where they would show up at.

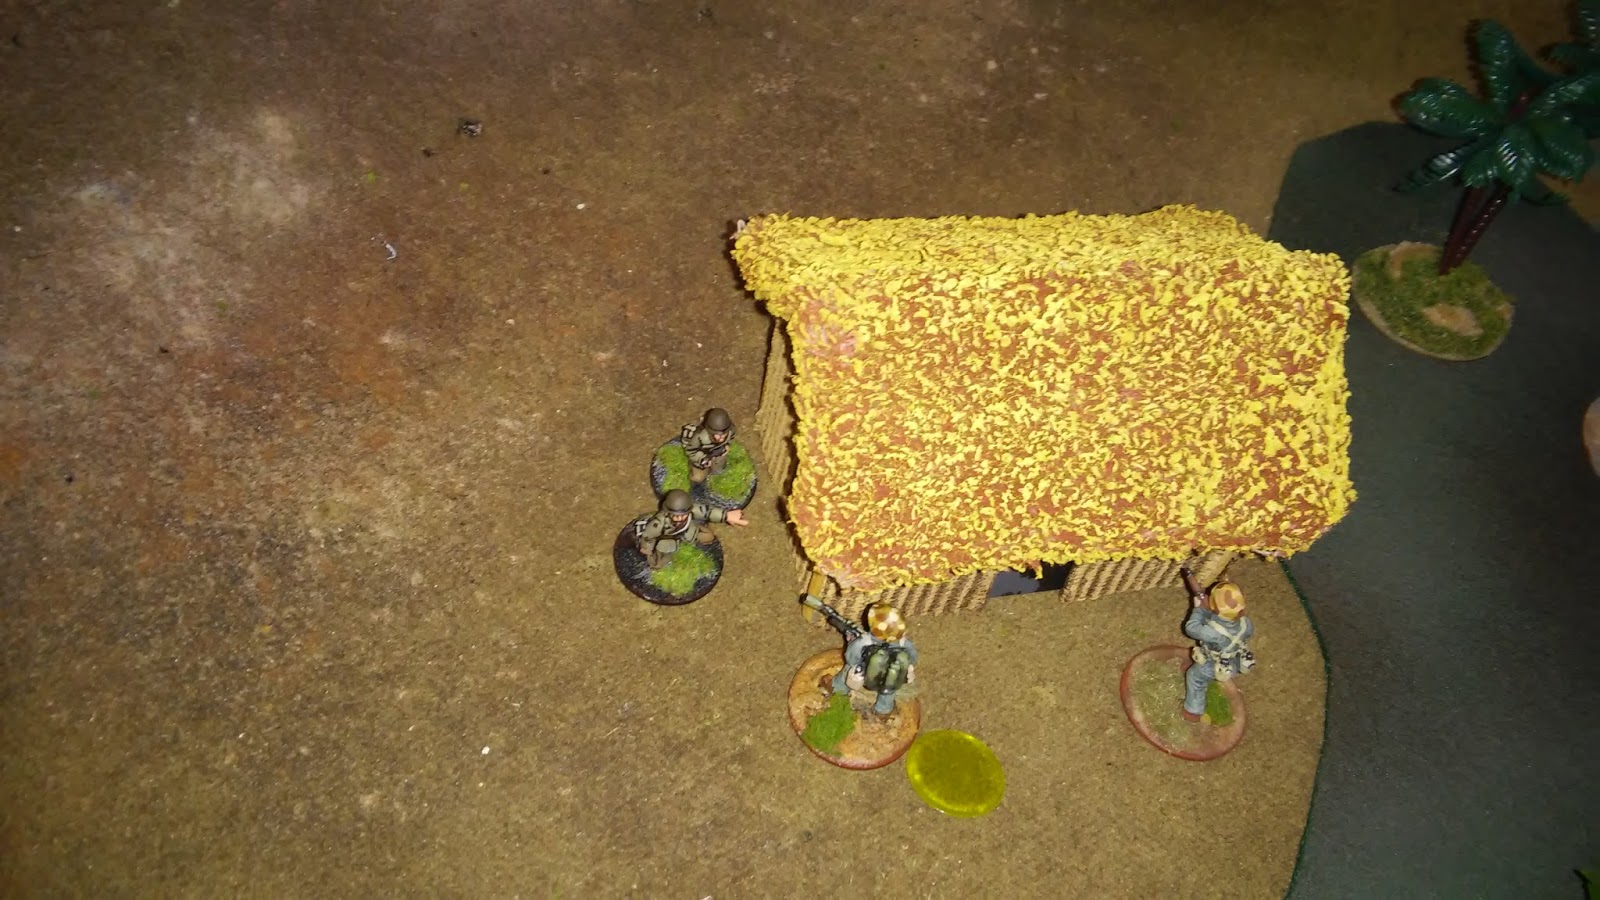
[The Japanese and Marine infantry were all Brigade Games 28mm, the 37mm ATG and Ha-Go were from Company B]


The Marines attacked with a couple of battle-attritioned infantry squads, supported by flamethrower and bazookas.  They also had a 37mm ATG and a .30 HMG.  The Japanese defenders included battle-attritioned infantry teams, Typ 89 mortar, an HMG, a spider hole with LMG, 70mm IG, and Ha-Go tankette.

The 37mm failed to knock out a heavy log bunker, but a Marine bazooka team got the job done.  Japanese infantry popped up in a trench line, and were quickly whittled away.

The Marines on the right flank moved past the burning bunker (expecting to take fire at any time), eventually arriving in line of sight to the 70mm IG which had been lobbing speculative shots up until then.  The 37mm ATG was knocked out by the Ha-Go (an unexpected development).
At this point, the last survivor of a Japanese team on the ridge failed his morale, which resulted in a roll on my ever popular Japanese Reaction Table..... the result was a bonus 9" Banzai move....
... and since it was a bonus move, the model was able to move on its own a further 9" towards the nearest Marines who took snap fire at the model...
... which failed to bring him down, BUT did cause another morale test, which the Japanese model failed, resulting in an additional 9" bonus movement, bringing the model into close combat....
... and he was able to take a Marine with him!  As one player said, " man, that guy is fast!"
The Marines on the right flank moved up after taking fire from the 70mm IG, and tried to put a flamethrower into action... they missed, but the morale test was failed by the IG crew, who also gained a bonus 9" move (we were rolling on the Despaired table, which is mostly seppuku and banzai)...
... which moved them into close combat.  Here again the Japanese scored kills in melee before being eliminated.

The Marines had suffered some casualties, but the Japanese were all but eliminated.  The scenario was a little off balance, we should have had a few less USMC assets (I was a Marine player, so not sour grapes on my part!), or a couple more Japanese units.  The Japanese requested a couple more automatic weapons next time :)  Still, this was a very fast moving game, maybe about an hour of play after we set up, and we all had fun. 

Ever since I wrote Red Sun Red Death, I have met many gamers who love those Japanese reaction tables.... we do too.  Its not common to see so many bonus banzai moves in a single game, but when you do, its very exciting for both sides.

The first game we played that day was a Marines vs Druze Militia in Beirut 1982, and "what if" scenario where the Marines were allowed to clean house.  The good Doc chronicled this game on his own blog Doctor Merkury's Lab.

The table looked great, but right from the start the two Marine players (including me) were botching the job.


I moved the M60 forward, and was immediately taking fire from the dug in T-34/85, a roof top 57mm RR team, and an RPG.  I managed to miss the T-34 twice before retreating.  We used smoke (the only thing we seemed to do right), but we were losing Marines almost as fast as we were taking out Militia.

The Marine M47 Dragon team made short work of the T-34/85, but it was too little too late.
The Marines tried to flank from the left, but it just was not working.  Smoke was deployed to cover the advance of the LVTP-7 (amtrac!), but it was no use.  We conceded the game before taking further casualties.

I have no excuse.  Instead of house hopping, I stuck to the streets, and lost in the long range exchanges.  But it was a fun game, and an unusual gaming period.

Thanks to the other IIG alumni for rolling dice with me!

Chalfant


Tuesday, December 1, 2015

Cold War: SAS Raid Behind Soviet Lines 1983

Howdie.

I recently put together a scenario for central Europe representing a commando style raid by British SAS on a rear area Soviet maintenance and communications park located near (long time readers will have guessed it).... Brezlen mit Senf!.  I had painted the SAS some time ago for use in the Falklands, see Falklands Special Forces.  The game was played in 20mm using Seek Out, Close With, and Destroy from Iron Ivan Games.  All of the Soviet infantry and almost all of the SAS are RH Models, with a few Combat SAS mixed in.  The vehicles are from a variety of sources.


The SAS objective was to eliminate the maintenance cadre and destroy their equipment (represented by the two trucks) ad they worked on a trio of (currently non-operational) T-80s, and eliminate the communications staff and their equipment (represented by a truck outside of the light factory they were currently using for their com center).  Afterwards, they would have to exit at least 4 models off of their board edge.  The SAS could swing the balance of victory somewhat by also destroying the T-80s and various Soviet security forces.

The Soviets had 6 single sentries deployed in the area, plus a 4 man PK MMG team, all of them with reduced accuracy and CC scores.  The targeted cadres were likewise at reduced combat values, and importantly, there was no effective central command.

During the course of the game, additional Soviet units would arrive ... these were rolled for randomly, and arrived in random locations, making it difficult for the Soviets to coordinate.  However, it als meant that as the game went on, the SAS would have a tougher time.  These additional Soviets would all be regular infantry and vehicle crews.

The SAS attacked with 3 full 4 man teams, a 2 man sniper team, and a 4 man command team.  They were armed with typical weapons (MAG, Bren, M16, M203, Sterling, SLR, and M72 LAW).


The game was assumed to begin with the SAS already having eliminated the initial screen of sentries.  Game play began with the SAS taking shots at on table sentries, and began to down them.  However, despite the poor light conditions and their own reduced accuracy, the sentries managed to return the favor and shot some of the SAS.  Also the Soviet response forces began to arrive, the first being a BRDM-2 recon vehicle.
The SAS had eliminated most of the sentries before heavier forces arrived.


As BTRs carrying squads of infantry arrived, and a T-62 MBT showed up, the central SAS teams shot down the maintenance staff and destroyed their equipment.  However, the SAS left flank team, holding the road position missed an opportunity against the BRDM-2 with their LAW... they managed to hit, but only immobilized it.  The entire team was cut down by combined sentry and rifle squad fire.


The security PK MMG team finally arrived in a position to take part in the battle but where quickly taken out of action.  The T-62 began to pour fire into the SAS right flank team, who missed with a LAW.  Another SAS team managed to destroy the communications truck with a 40mm M203 dual-purpose round, but were themselves cut down in the fields.  The SAS right flank team finally lost their uneven duel with the T-62 as a 115mm HE round and DsHK fire silenced them.

With three BTRs and 3 full squads of infantry on the table, as well as the T-62, the SAS realized that they could not possibly reach the communications center (though the truck had been destroyed).  The security forces were all down, but it was time to leave.  The sniper team moved off easily enough as they had remained in position well in the rear. However for the remaining models of the SAS command team....


... it was too late.  A BTR raced towards the SAS board edge, effectively cutting them off from their retreat (they had no remaining AT weapons).  Their only choices were to surrender or die where they stood.

This was a fun scenario, as it was quite frustrating for the Soviets at first (and equally fun for the SAS)... but as time went on, it became easier for the Soviets (and harder for the SAS).

In the end, the SAS had achieved one primary goal (the complete destruction of the maintenance cadre and their equipment) but only half of the other primary goal (the destruction of the communications staff).  This would have been enough to earn them a marginal to slight SAS victory, BUT, having failed to exit 4 models back off the table by games end, this became a marginal to slight Soviet victory.

We had fun gaming this, but, looking at the distances, I will plan on making the communications team slightly closer for the SAS... or delay the arrival of the Soviet reinforcements.  It probably was 12" too far for them to reach with the current scenario.  Still.... they did quite well, and have nothing to be ashamed of.  They certainly were better on the table, passing all but one morale test during the game, while the Soviets failed about a third of theirs.

I'll let you know when we try it again.  Thanks for reading!

Chalfant